Hosts
How to set up your rental business in the Host App
By Cruise & Scoot · October 29, 2026 · 4 min read
The short answer
Open the Host App, sign in with your host account and choose Start guided setup on Home. Work through Business details, Add your carts, Set your pricing, Set up payouts and Publish your storefront. Each step opens the existing editor; completed steps show Review.
- Use the same business workspace throughout setup.
- Review completed steps without starting over.
- Check bank connection and storefront status separately.
1. Open Home and start guided setup
Sign in from the Host App welcome page. On Home, look for Get started and choose Start guided setup. The progress count reflects the business information already saved. If you work across multiple companies, check the active workspace in the full dashboard before changing business settings. Staff access can differ from owner access.
2. Review Business details
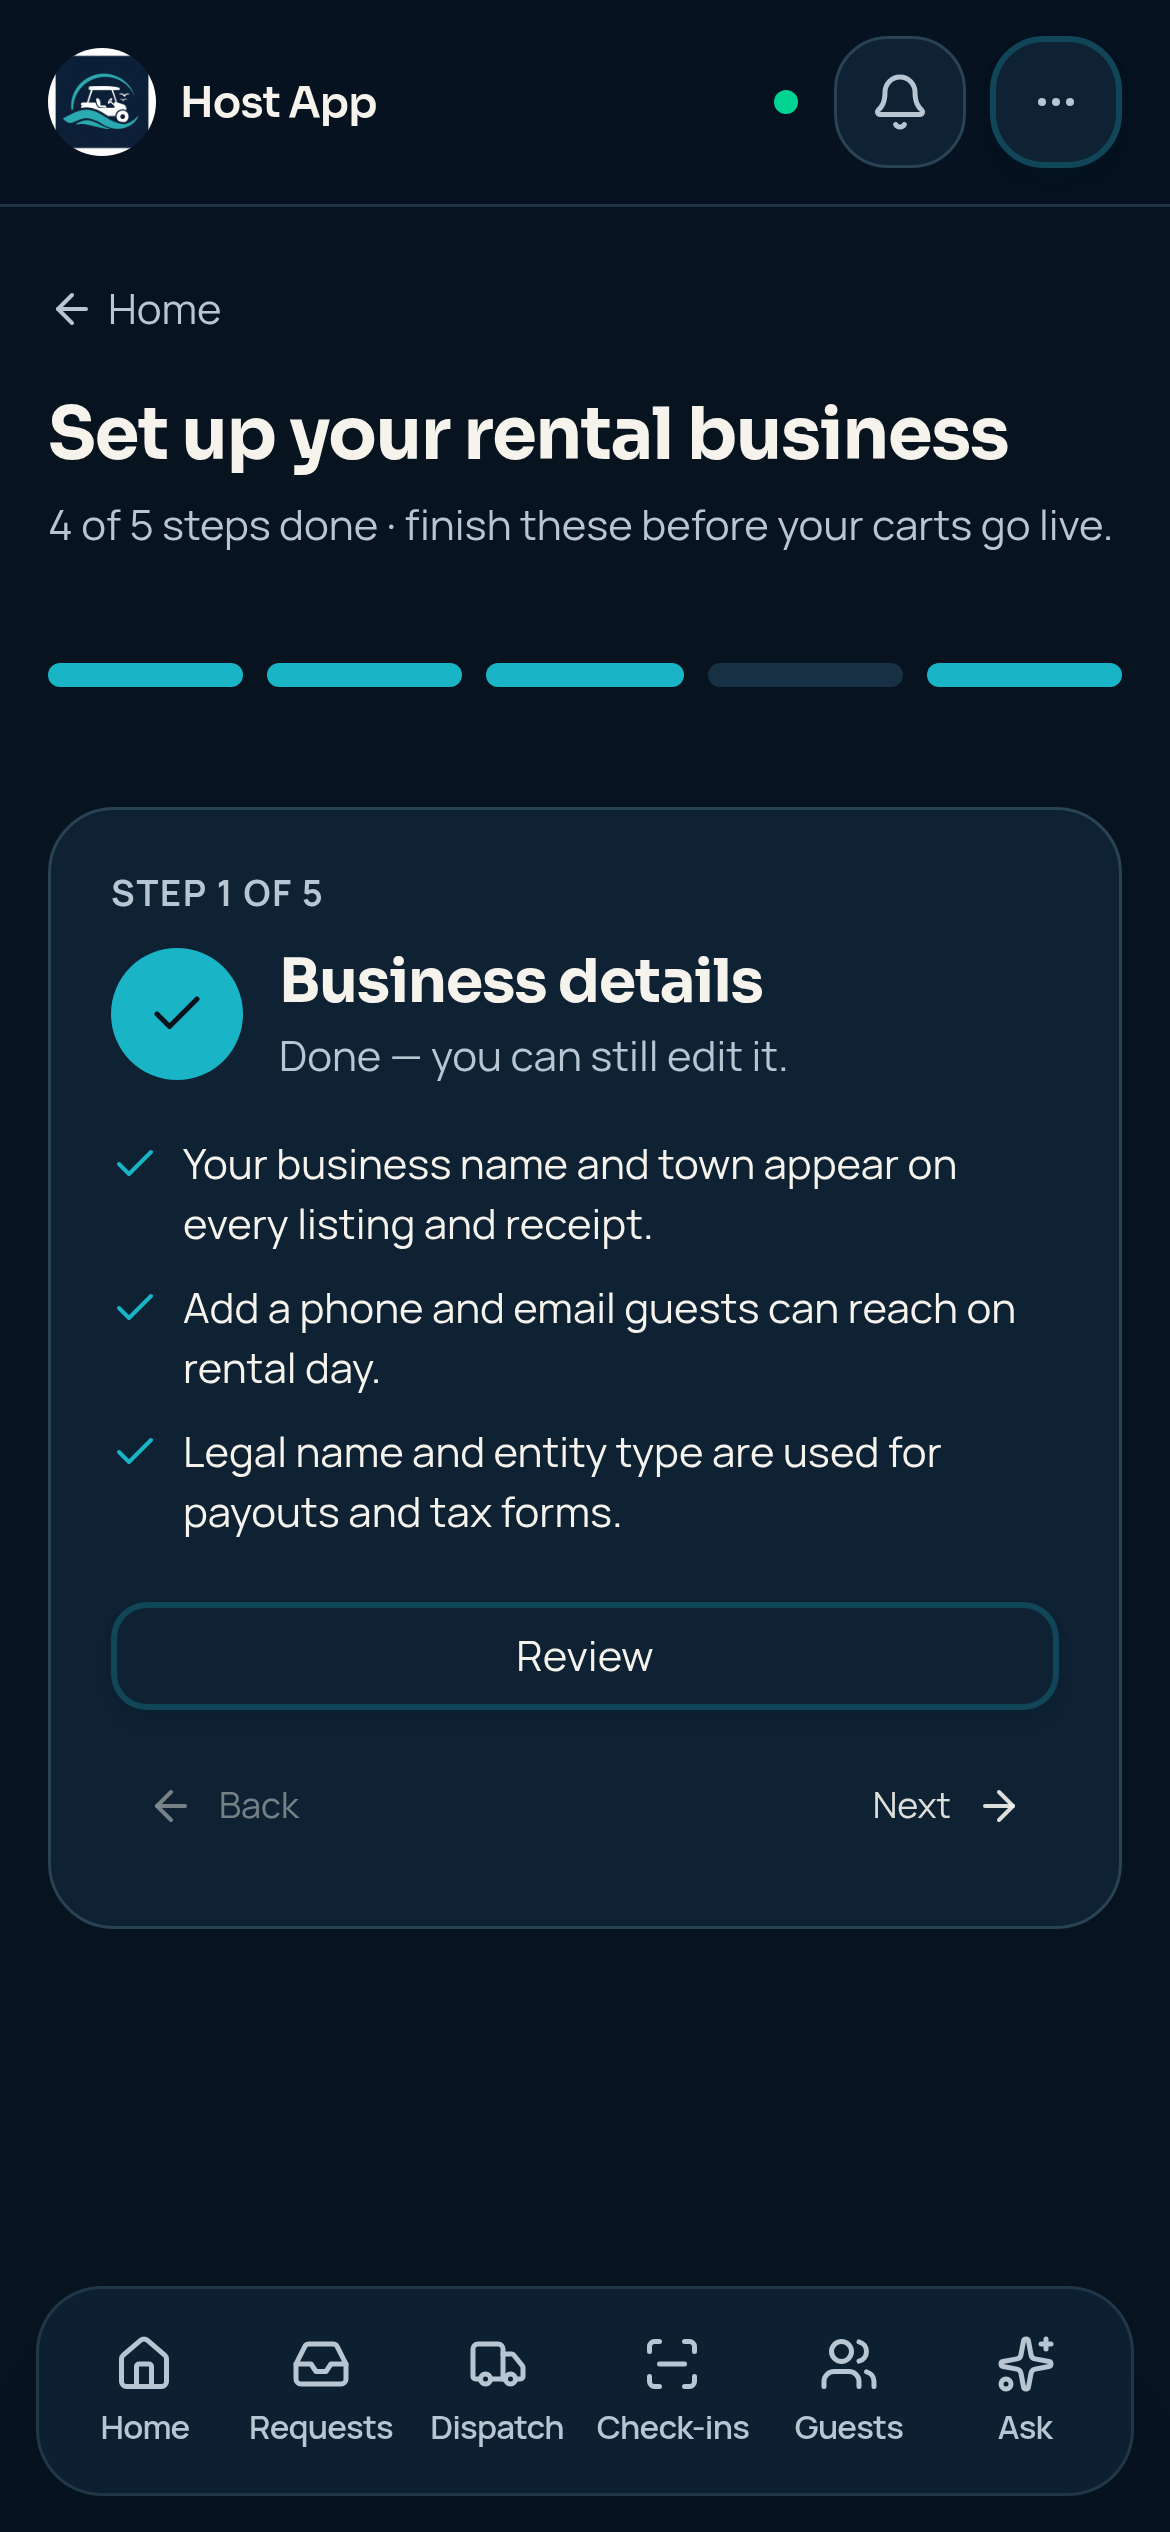
Select the first segment in the five-part progress bar. Open Set up my business, or Review when this step is already complete. Check the business name, town and guest-facing contact information in the editor. Save there and return to guided setup to review progress.
3. Add your carts and set pricing
The second segment is Add your carts. Open Add a cart, or Review for a completed step, and enter vehicle details and a clear cover photo. The third segment, Set your pricing, opens Listings. Review each cart’s standard rate and availability before accepting reservations. A completed setup step does not mean every cart has been individually reviewed.
4. Connect your payout account
Select Set up payouts and choose Connect my bank when offered. Complete the payment provider’s requirements privately, then return to check the connection status. Do not share bank details in guest messages. A connected account is not evidence that a payout has arrived.
5. Preview and publish your storefront
Select Publish your storefront and open the storefront editor. Check branding, cart photos and booking details in Preview before using the publishing controls. Share the live storefront link, not a private preview link. Return to guided setup to confirm that the saved publishing state is reflected.
What if a step already says Done?
Choose Review to reopen its editor. The five progress segments let you jump between steps; Back and Next move through the checklist. Skip for now leaves an unfinished step incomplete. If a tool is unavailable, ask the business owner to check your access rather than creating a second company to bypass it.
References and product details
Written by the Cruise & Scoot team using our published product workflows. Product details checked October 29, 2026.